
to start you need 2 hexagons ... when you measure them it is along the straight edge .. for this you need an inch difference .. I used a 1 and 2 inch size...


.. the smaller one is the bottom .. the larger the top. I found it easiest when starting to use plain/solid fabric . ..

fold the hexagon along each straight side .. with the fold facing UP..


match the points on the 2 hexagons and pin .. from the outside in...


match ALL 6 points to make this..


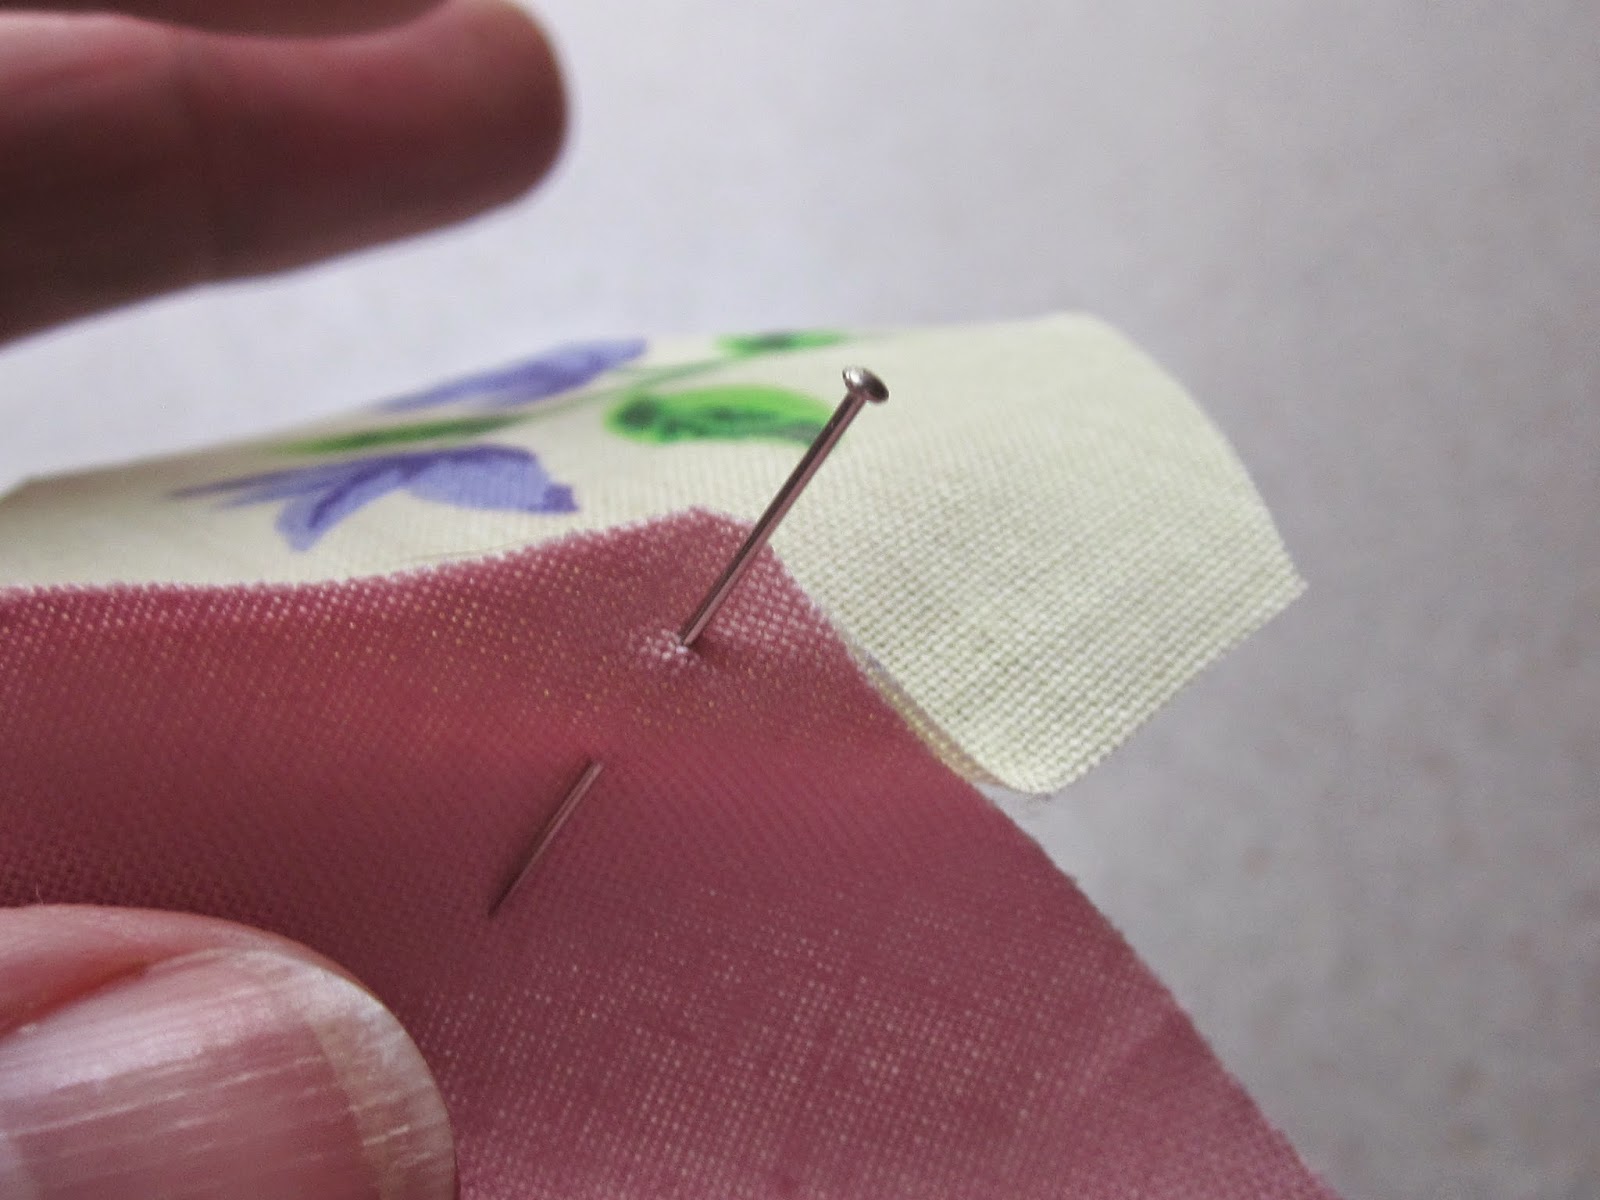
take the folded point between finger and thumb and fold to one side ... it doesn't matter WHICH side as long as it is the same one all the way round..


take the pin and place it where the fold is...


gently press down and "tweak" the hexagon into place..


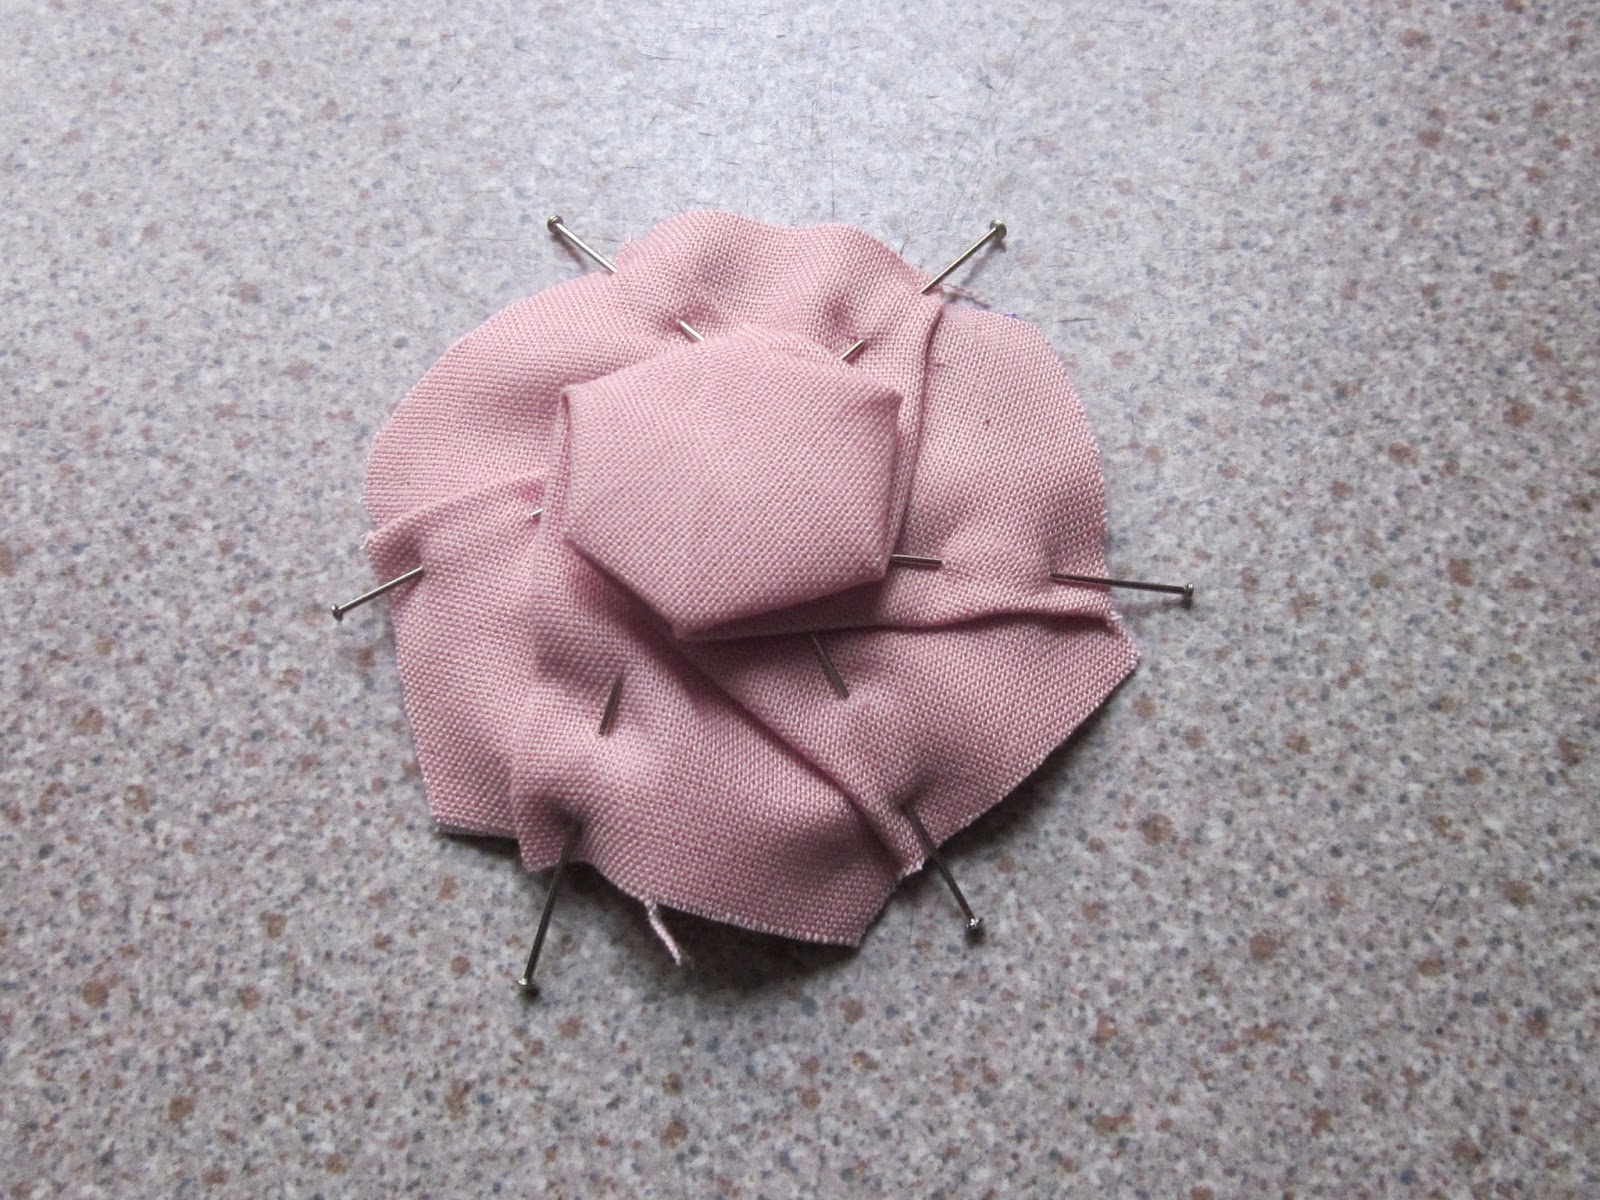

tack around the edges..

iron and add a bead or button to the centre...

NOW it is up to you to decide how to use them xx cushions .. on bags .. on clothes .. to make broaches .. its up to you ... have FUN xx
Diane x
9 comments:
I love it, looks like fun.
Thanks for explaining how to construct them, they do look fantastic.
Those are super cute!
Brilliant , thanks, looking forward to trying x
Thank you for the explanation..will have to go and have a play!
xx
and you could play with the sizes to change the size of that centre hexie... Great tutorial, Diane!
Wow that's really a really great tutorial, I definetly will be giving that a try
Thank you for the little tutorial, I will try that one day - looks like fun!
An excellent tutorial> I really like the way that they look so different depending on the choice of fabric.
Post a Comment